How To Choose Who Receives Alerts With BetterShield?
Send alerts to the site administration email or up to five named addresses, choose what each one gets, and test the real WordPress mail path.
In BetterShield, use BetterShield › Settings › Email alerts › When alerts are sent, and to whom › Where alerts go.
What it does
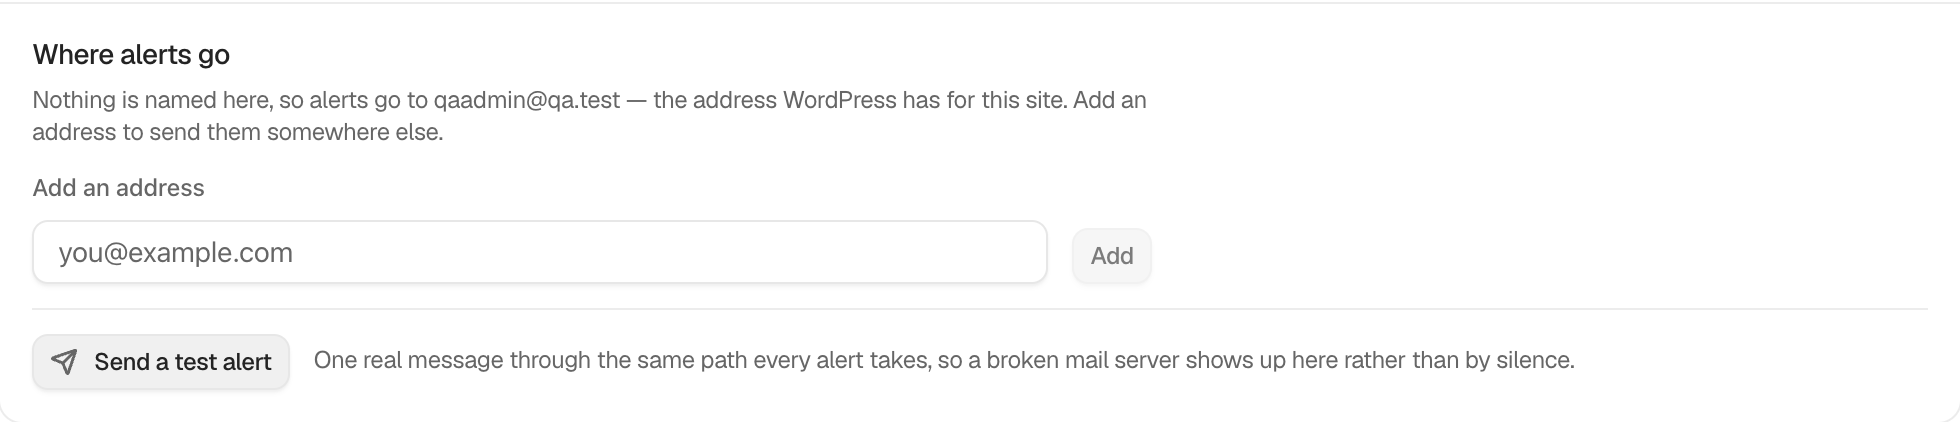
By default, the named list is empty and alerts use the site’s administration email, which receives the messages enabled for this site. Instant alerts and the weekly summary start off on a new install. Add up to five valid, distinct email addresses. They do not need WordPress accounts. Once any address is named, that list is used instead of the site address.
Each named address also has two choices of its own: Instant alerts (High and critical, Critical only or None) and Weekly summary (ticked or not). A new address starts on High and critical with the weekly summary, so adding one changes nobody else’s choices. See Choose what each address gets.
Send a Test Alert sends one real Alert delivery test through the same WordPress mail path as live alerts. It goes to every address, whatever each one chose. It reports whether WordPress accepted it, whether alerts are muted, whether no recipient exists, or whether another test was sent too recently. When it is accepted, the screen also lists each address and the language its alerts are written in, under Each address gets alerts in:. See Alerts in each person’s language.
Step 1: Choose Who Receives Alerts
Enter an address under Add an address and select Add. Repeat as needed. Use Remove beside an address to take it off, which also removes its choices. Send a test and confirm the inbox receives it.
| Option | What it does | Default |
|---|---|---|
| Add an address | Names who gets alerts. Up to five. | Empty, so the site administration email is used |
| Instant alerts (per address) | High and critical, Critical only or None | High and critical |
| Weekly summary (per address) | Whether this address gets the weekly summary | Ticked |
Recommended settings
Use a monitored shared address with at least two responsible people. Test after changing hosting, domain mail, or SMTP configuration.
What it can break and how to undo
Removing the last named address returns delivery to the site administration email. A typo can direct alerts incorrectly, so correct or remove it immediately.
At least one address must stay on High and critical, so an urgent alert always reaches someone. A change that would leave none is refused with “Keep at least one address on instant alerts for high and critical events, so an urgent alert always reaches someone. To stop all alerts, use Mute everything.”
Giving an address a lower level, or clearing its Weekly summary, makes alerts quieter. With Ask for my password before removing a protection on under Settings › General, BetterShield asks for your password first. A settings-history row can restore the prior list and choices.
Final Outcome
Select Send a Test Alert and confirm WordPress accepts it and every address receives it. Repeat this test after a mail-service or hosting change.
On multisite
Recipients and what each address chose are per site. Network-wide recovery notices use the network administration address where the feature says so.
Related
- Choose what each address gets
- Alerts in each person’s language
- Send a weekly security summary
- Put a settings change back
- Locked out
This is how you can choose who receives alerts with BetterShield.
Getting Stuck? Feel free to contact our Dedicated Support Team.